A broken window after a coastal storm, water spreading from a failed supply line, or smoke damage after a nearby wildfire can make the next steps feel urgent and uncertain. Knowing how to document property damage gives your claim a clear starting point while helping you preserve the details that are easiest to lose once cleanup begins.
The goal is not to create a perfect case file in the middle of a stressful event. It is to record an honest, organized picture of what happened, what was affected, and what you did to protect the property from further loss. Start as soon as it is safe to do so, and keep everything in one place.
Start With Safety and Prevent Further Damage
Before taking photos, make sure the area is safe. Leave the property and contact emergency services if there is a fire, gas leak, downed power line, structural concern, or active flooding. Do not enter a damaged building until it is safe to enter.
Once immediate hazards are addressed, take reasonable steps to prevent additional damage. That might mean shutting off the water, placing a tarp over an opening, moving dry belongings away from a leak, or calling a qualified emergency restoration professional. Save receipts for any emergency supplies, temporary repairs, and mitigation services.
There is a balance to keep in mind: protect the property, but avoid permanent repairs or discarding damaged items before they can be reviewed. If something must be removed for health or safety reasons, photograph it thoroughly first and keep a sample or the item itself when practical.
How to Document Property Damage With Photos and Video
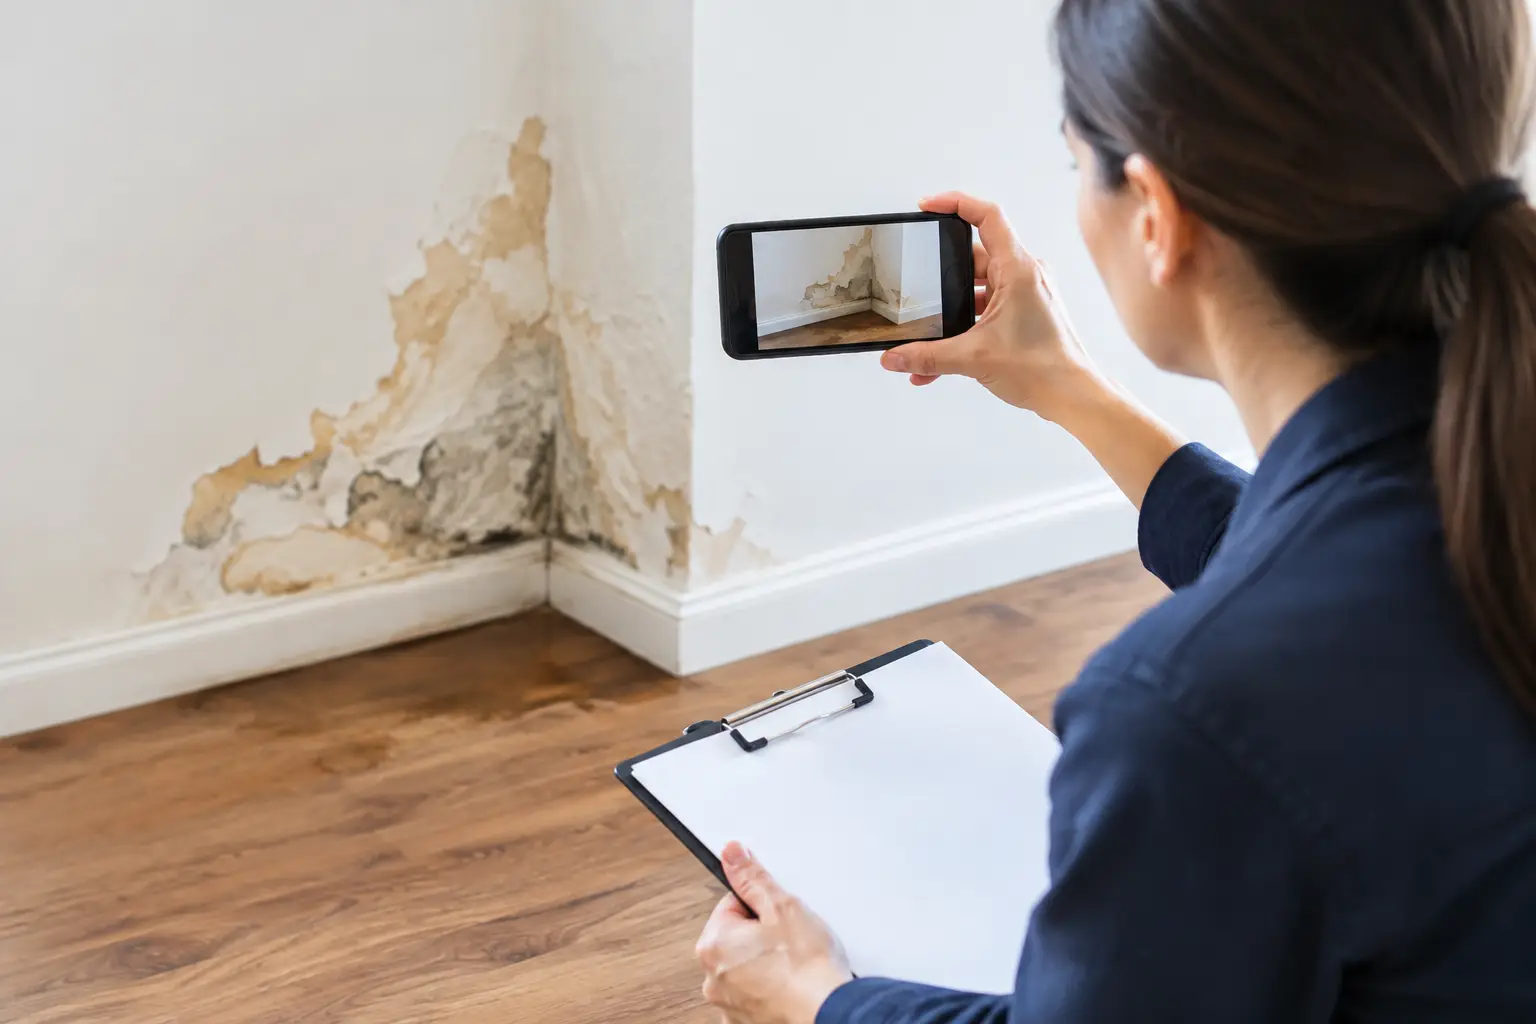
Photos and video are often the clearest record of conditions immediately after a loss. Begin with wide shots that establish the setting, then move closer to show the specific damage. Think of your documentation as a visual walk-through for someone who was not there.
Photograph the exterior from multiple angles if the damage involves a roof, siding, windows, fencing, landscaping, or outbuildings. Inside, capture each affected room from the doorway and then take close-ups of damaged walls, floors, ceilings, cabinets, appliances, and personal belongings. Include nearby undamaged areas when they help show the extent or direction of the damage, such as a dry wall beside a water-stained ceiling.
Video can add useful context. Slowly narrate the date, location, and what you are seeing as you move through the property. A short, steady video of water intrusion, wind damage, or smoke residue can show details that individual photos may miss. Avoid editing images or adding filters. Original, time-stamped files are generally the most useful records.
For larger losses, take more photos than you think you need. Capture serial numbers, model numbers, labels, and identifying features on electronics, tools, equipment, and major appliances. For business property, document inventory, machinery, point-of-sale equipment, stock, furnishings, and any damage that affects your ability to operate.
Make a Room-by-Room Inventory
A written inventory turns a collection of images into a more usable record. Walk through one room at a time and list every damaged item you can identify. Include the item description, brand or model if known, approximate age, purchase price or estimated value, and the type of damage.
Do not worry if you cannot remember every detail at once. Begin with high-value items and obvious losses, then return as you find receipts, review old photos, or remember additional belongings. Family photos, prior home videos, and images from real estate listings can also help establish what was in a room before the damage occurred.
For a business, separate damaged property into clear categories: building improvements, business personal property, inventory, tools and equipment, and records. If operations are interrupted, maintain a separate log of closure dates, lost appointments or orders, employee communications, and extra expenses incurred to keep the business running. The coverage that may apply depends on the policy, so detailed records support a more informed conversation about the loss.
Record the Timeline While Details Are Fresh
Write down what happened in chronological order. Include the date and approximate time you first noticed the problem, weather conditions if relevant, who was present, and any steps taken immediately afterward. If a pipe burst, note when the water was discovered, when it was shut off, and when a plumber or restoration company arrived.
Keep a log of everyone involved. Record names, companies, phone numbers, dates, and a brief note about each conversation. This can include emergency responders, contractors, property managers, neighbors, restoration professionals, and insurance representatives.
For weather-related losses on the Central Coast, a timeline can be especially helpful. Wind, heavy rain, coastal moisture, wildfire smoke, and power interruptions may affect multiple areas at once. Clear notes help distinguish what you observed and when, without requiring you to guess about the cause.
Save Receipts, Estimates, and Damaged Items
Create a dedicated folder, whether physical, digital, or both. Store receipts for emergency repairs, hotel stays, meals, temporary storage, equipment rentals, cleanup supplies, and other expenses related to the event. Keep invoices and estimates from contractors, but do not assume an estimate alone determines the amount paid on a claim. Coverage, deductibles, policy limits, exclusions, and the final scope of damage all matter.
If an item is damaged beyond use, do not throw it away right away unless it is unsafe or local authorities require removal. Take photographs first, then retain the item until you receive guidance. This is particularly relevant for damaged electronics, furniture, flooring, appliances, and business equipment.
Back up digital documentation promptly. Email files to yourself, upload them to secure cloud storage, or save copies on a separate device. A damaged phone or computer should not take your only evidence with it.
Contact Your Insurance Team Early
Report the loss as soon as you can, especially when damage is ongoing or affects the safety or habitability of your home or business. Have your policy number available if possible, along with your photos, timeline, and initial list of damaged property. You do not need to wait until every item is listed to begin the conversation.
Be factual and specific. Describe what you observed rather than trying to diagnose the cause or estimate the final cost. For example, “water was dripping through the kitchen ceiling at 8:15 p.m.” is more useful than an assumption about why the roof failed.
An experienced local insurance advisor can help you understand the reporting process, the documents that may be requested, and the practical steps that protect your property while the claim moves forward. Central Coast Insurance works with California homeowners and business owners who need that kind of attentive, grounded guidance when the unexpected happens.
Common Documentation Mistakes to Avoid
The most common issue is waiting too long. Conditions change quickly after a storm, leak, or fire, and cleanup can erase critical evidence. Document first when safety allows, even if you only have time for a few wide photos and a short video.
Another mistake is relying only on close-up images. Close-ups show damage, but wider shots establish where it occurred and how extensive it is. Finally, avoid mixing claim-related expenses with everyday purchases. Keep receipts organized and label what each expense was for.
Property damage is disruptive, but your first records can bring order to a difficult moment. A calm, thorough file of photos, notes, receipts, and damaged-property details gives you something solid to work from when you need support most.